Content
- Idea
- Version 1
- Layout
- Specifications
- Parts
- Prototyping
- Sources
- Discussions
- Useful documentation and manuals
Idea
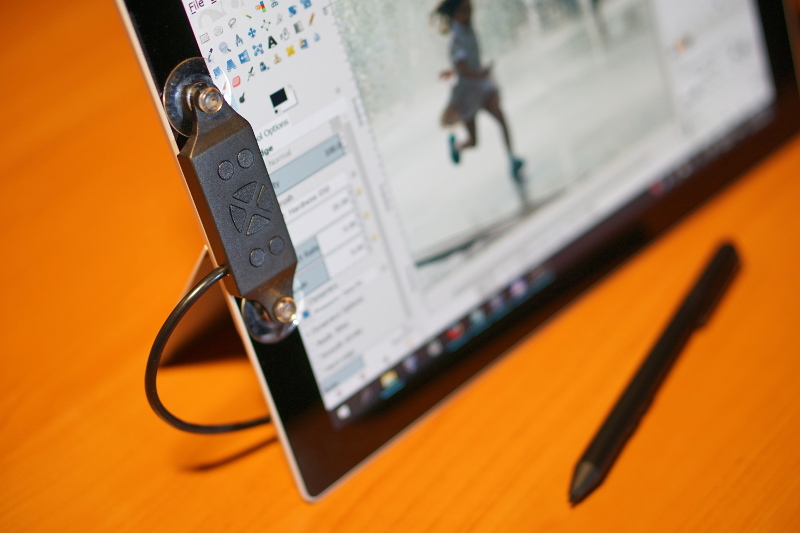
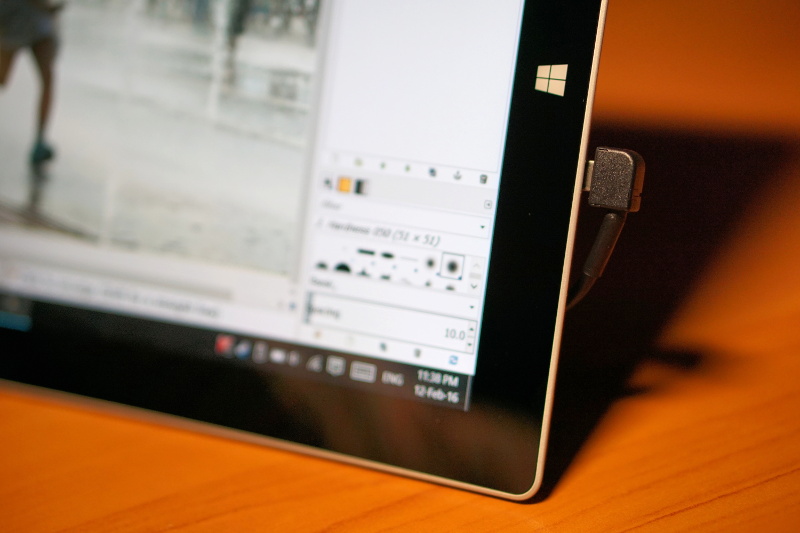
Modern tablets usually don't have hardware buttons, which can be used for arbitrary purpose. Usually there are few buttons dedicated for some particular purpose like power, volume buttons, etc. If you use, for example, a photo editing software, you may want to bind several hardware buttons to shortcuts (like Ctrl+Z or arrow keys). One Thumb Keyboard (OTK for short) is an attempt to fix that problem. It's a tiny USB keyboard for tablets providing customizable hardware buttons.
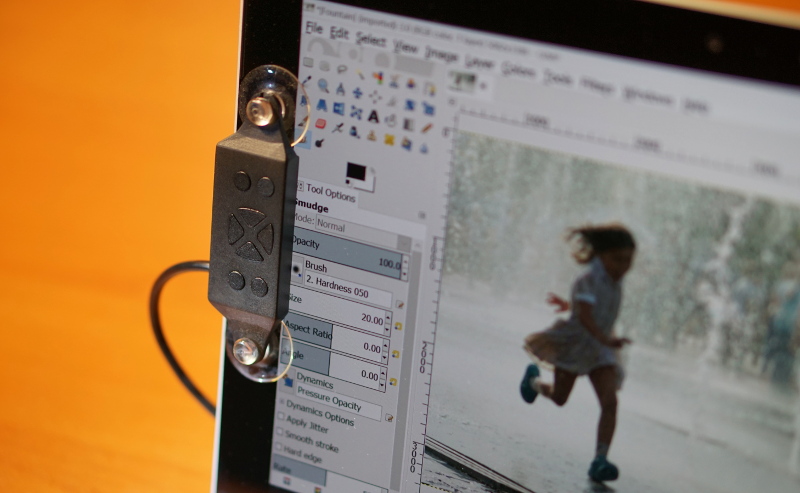
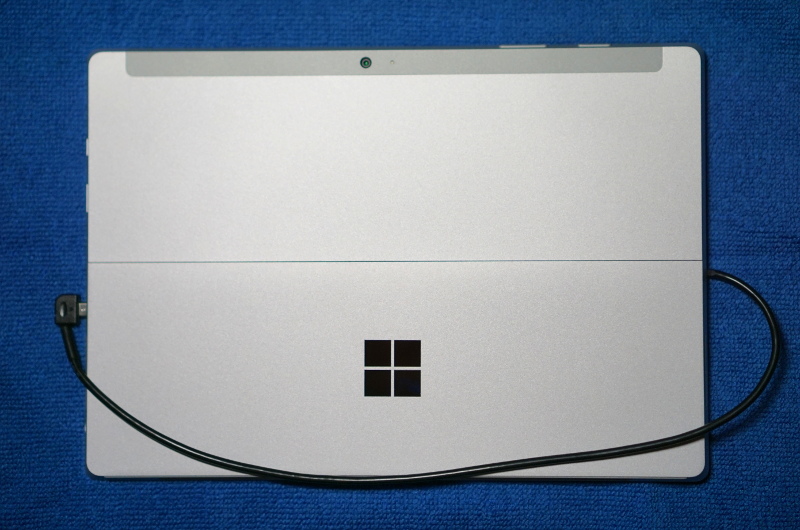
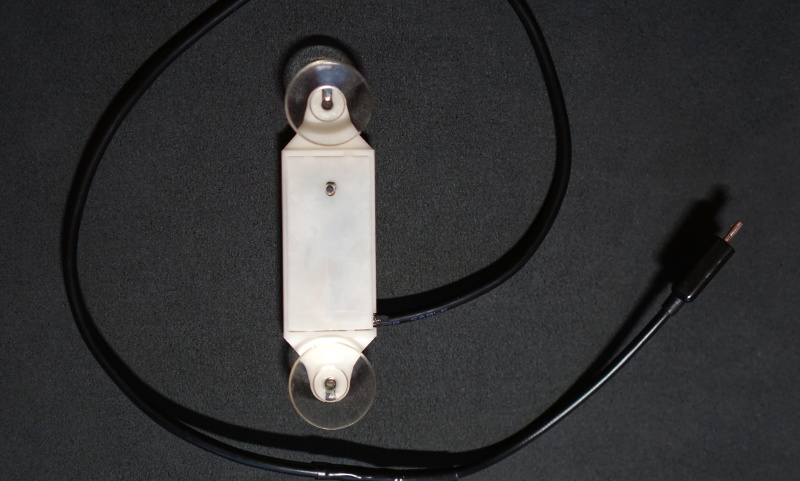
The keyboard can be attached to the bezel of the screen via suction cups. The keyboard has a standard USB interface (micro USB). The cable comes from the bottom left part of the case.
The keyboard is designated just for one thumb, therefore it provides only 8 buttons. All of them are easily accessible without repositioning the wrist.
Version 1
The version 1 is the actually the third prototype and the first successful version. The first two prototypes had critical issues with the direction controller and were not successful.
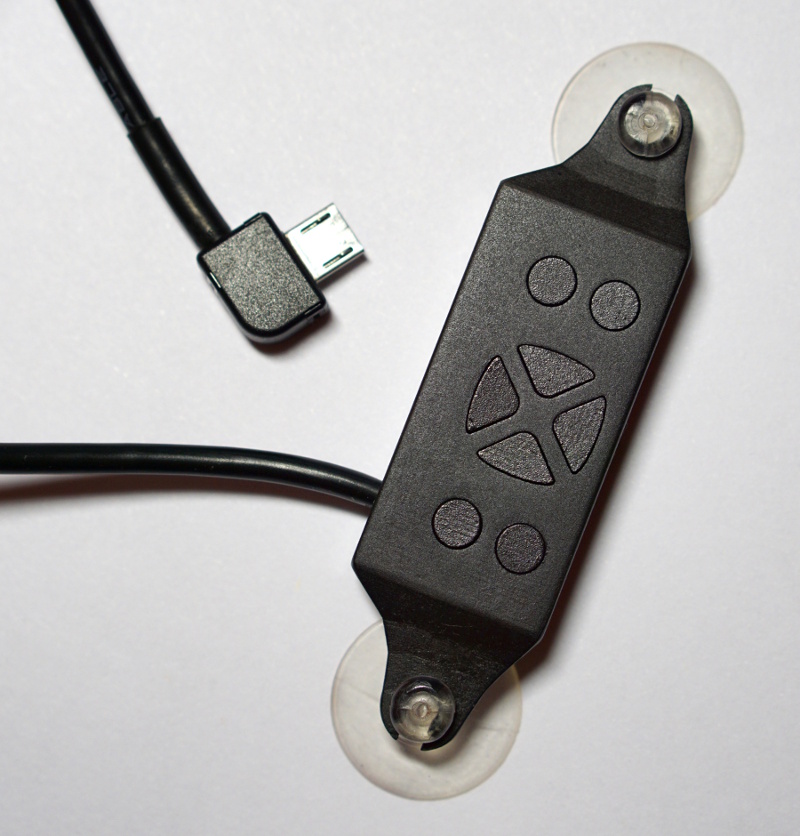
OTK uses angled micro USB OTG connector:
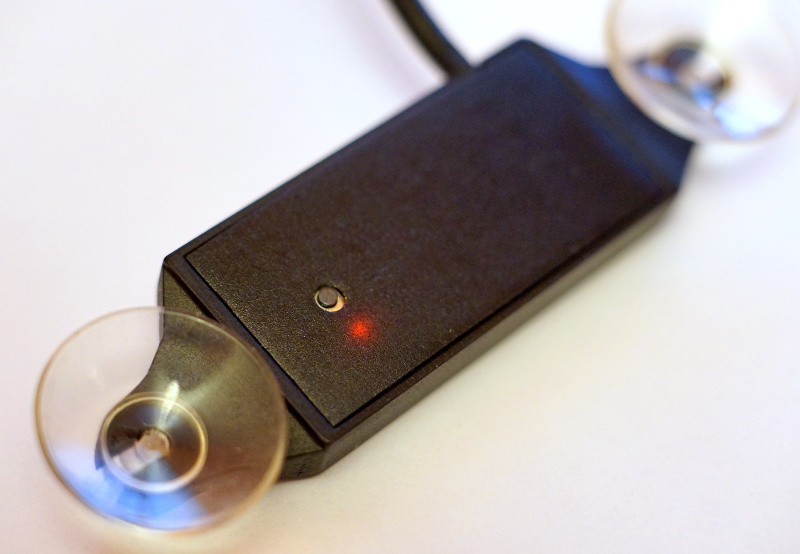
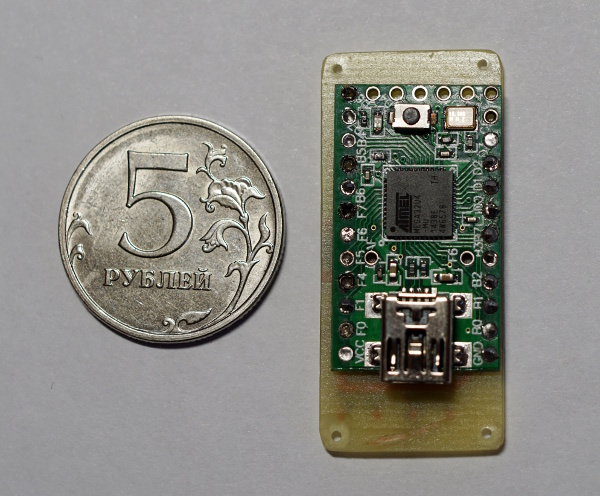
On the back side of the device are located reset pushbutton and a LED indicator.
The reset button runs the HalfKay bootloader, which allows to flash new
programs (and change the layout, for example). The LED shows the state
of the device. When the LED is on, the device is works as USB keyboard. When the
LED is off, the device is ready for downloading new firmware.
The full-resolution version of the images above are available in the gallery.
Layout
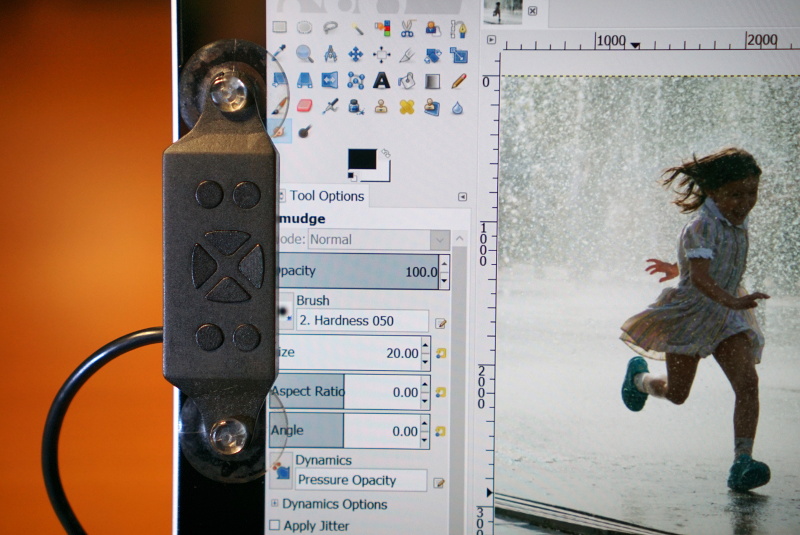
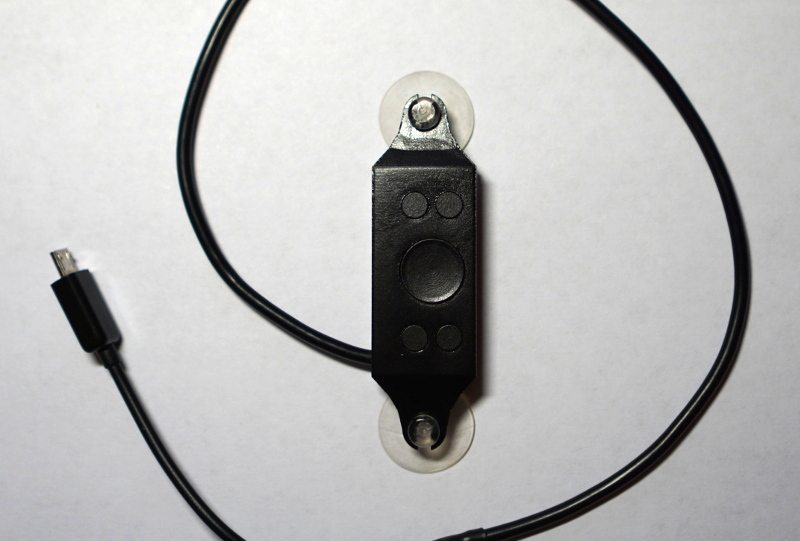
The default OTK layout is represented on the image below:
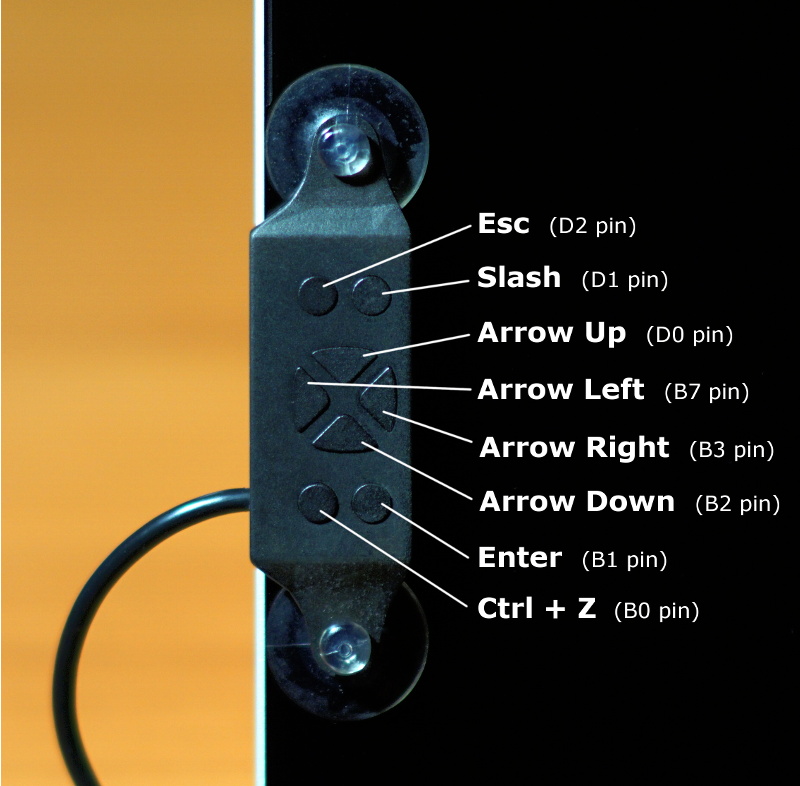
The layout can be changes via editing the source code and downloading new firmware using the loader program.
Specifications
Here are the specifications of the OTK version 1:
| Property | Value |
|---|---|
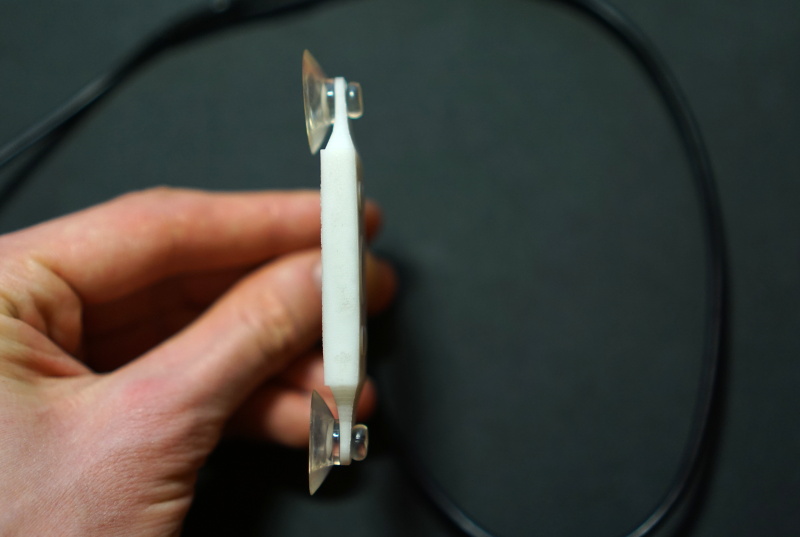
| Length (including suction cup holders) | 80.5 mm |
| Width | 23.5 mm |
| Thickness (including height of the buttons) | 7.7 mm |
| Weight (including cable and suction cups) | 20 grams |
- The width of the device is enough for placing three buttons in a row and still fits in the bezel of most modern tablets.
- The length of the device is naturally limited by the distance, which a human thumb can travel without repositioning the wrist.
Parts
OTK consists of the following third-party parts:
- Teensy 2.0 as the keyboard controller. Datasheet for the controller, pin layout, schematic.
- 8 ordinary 5mm tact switches from Aliexpress (no datasheet provided).
- Low-profile angled micro USB connector (no-name from Aliexpress).
- Ordinary shielded cable containing 4 wires (25 cm).
- 4 screws 3x2 mm.
- 2 suction cups from Logitech Joystick for iPad.
All the other parts were designed and produced from scratch:
- The PCB for the keyboard.
- The case and the buttons are 3D-printed using VisiJet X photopolymer (the layer height is 16 microns) and painted using acrylic paint.
Prototyping
This part represents the photo summary of the way the project has passed from the idea to the useful device.
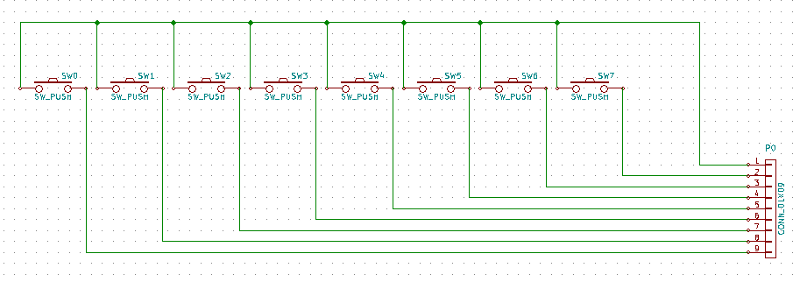
The schematic of the board is quite trivial:
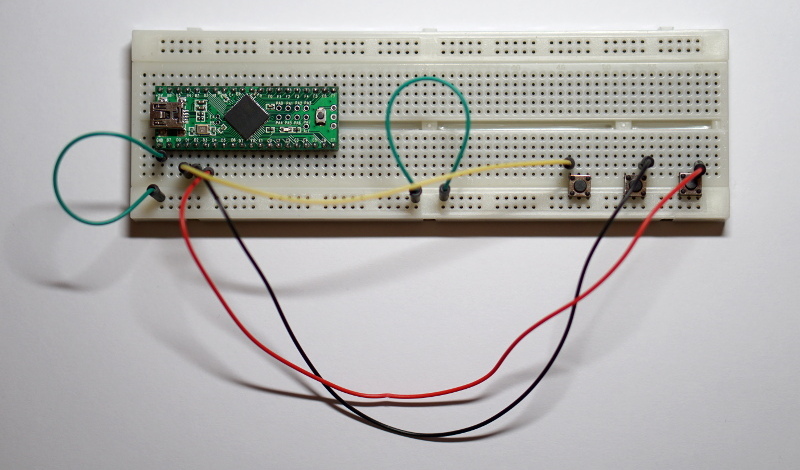
Breadboard for testing scheme and firmware:
Making PCB in KiCAD:
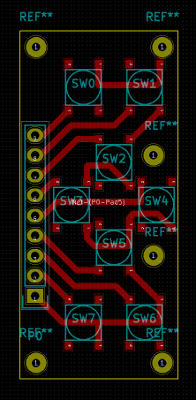
View in full resolution. PCB sources are available here.
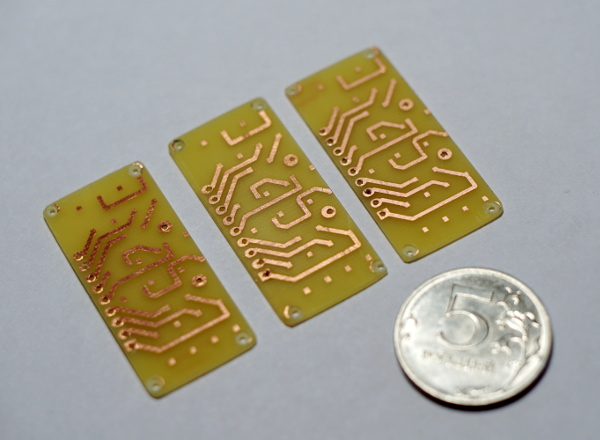
It was quite a challenge to print the PCB in correct size.
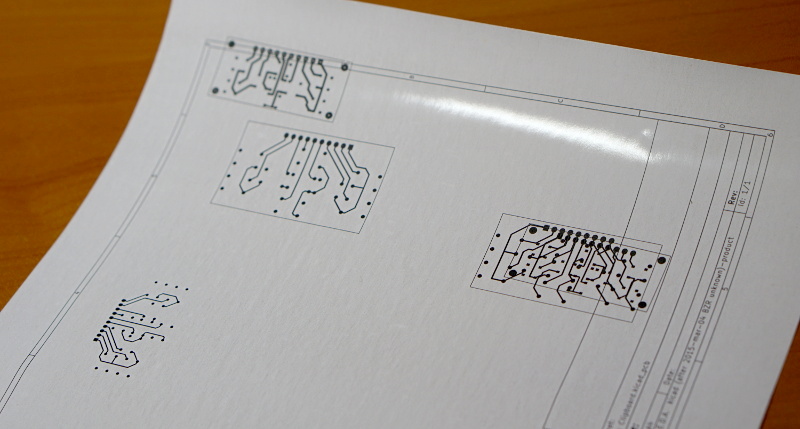
The PCB print of the first prototype.
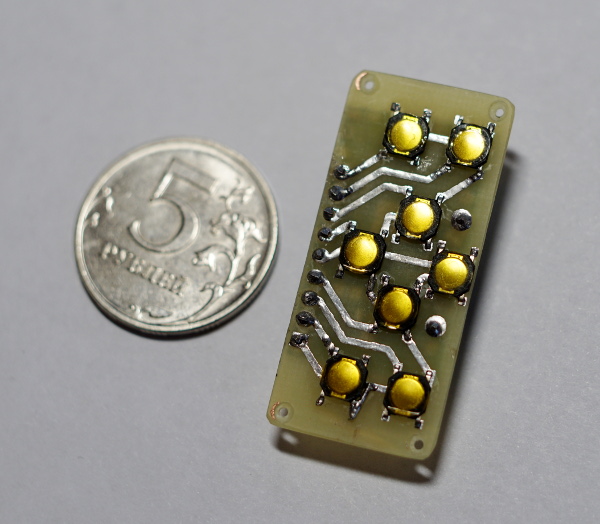
Front view of the board of the first prototype.
Back view of the board of the first prototype.
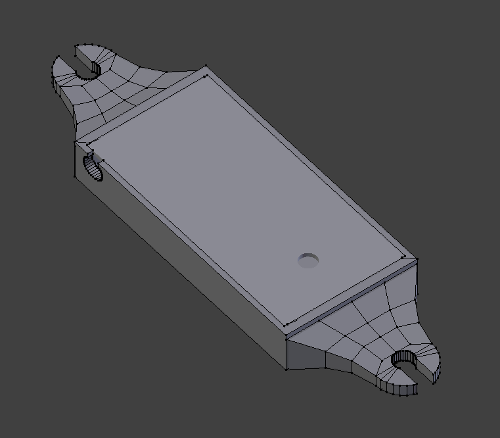
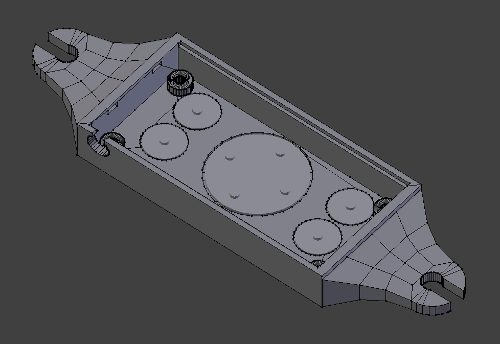
The 3D-model of the case. The sources (blender files) are available here.
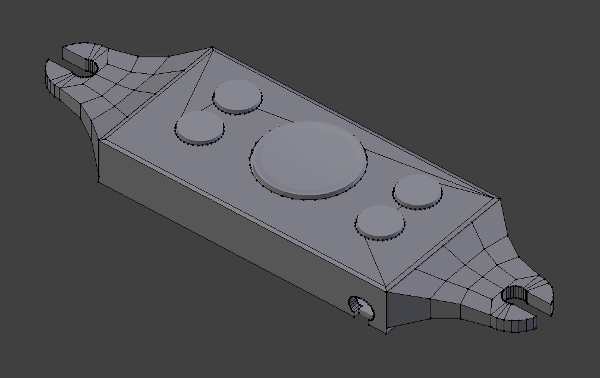
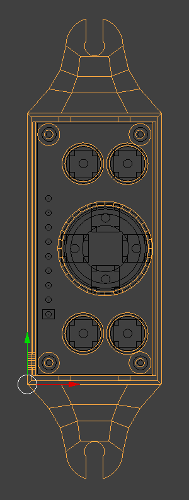
View in full resolution.
The first prototype assembled! There were around 10 issues with the case model, so the new version (prototype 2) is on the way. But in general it works and proves the concept.
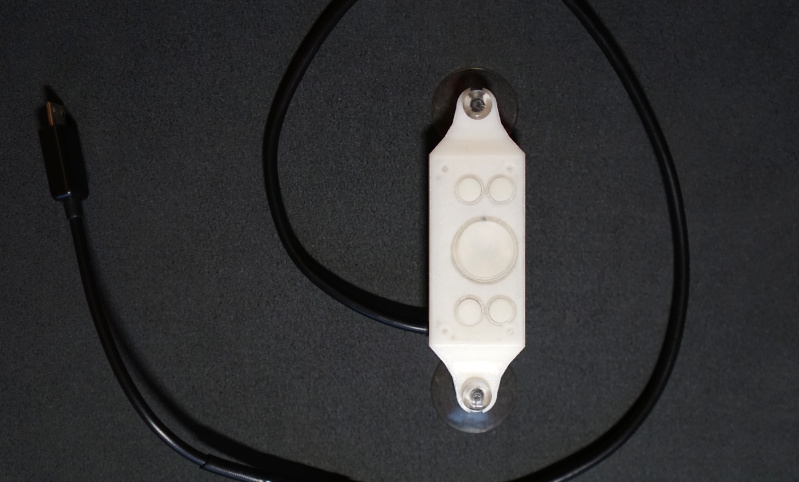

Finally the first prototype is painted.
The second prototype was also unsuccessful because of the direction controller (the four-way digital cross in the center). After that we decided to split the cross into four separate buttons.
Sources
The electronic schematics, PCB design and the footprint library for the touch switches are available here under GNU Free Documentation License 1.3 and Creative Commons Attribution-Share Alike 3.0 Unported License.
The 3D model of the case and buttons (Blender file) is available here under GNU Free Documentation License 1.3 and Creative Commons Attribution-Share Alike 3.0 Unported License.
The source code of the firmware is available under the MIT license.
The compiled binary firmware (with the default layout) ready for downloading into the device.
Discussions
- Discussion on Reddit.
- Strange things happened when I tried to discuss OTK on surfaceforums.net and tabletpcreview.com.
Useful documentation and manuals
If you are going to develop a DYI USB-keyboard, take a look at the links mentioned below. You may find something interesting.
Teensy as a keyboard controller
- C code for Teensy: USB Keyboard
- Using I/O pins on Teensy, with C language
- Teensy as a keyboard controller
